
How I Make Stickman Animation With 100% FREE AI Tools (Full Course)
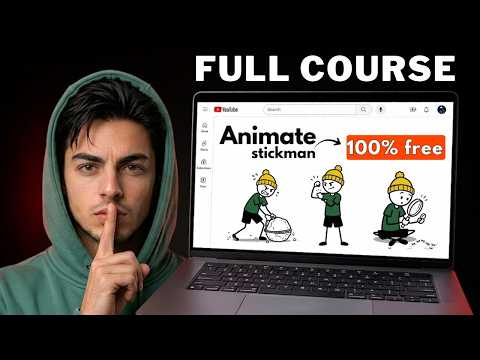
Stick-figure channels are posting numbers most creators wait years for, and some are estimated at over $10K a month. In my previous video I built this workflow with Claude Code and the Higgsfield MCP, and the top comment was: can we do it for free? This is that version, from the first idea to the final export, using only free tools.
Step 1: Load the master prompt and the resource file
- Copy the whole stickman master prompt (from the free Vault) and paste it into Claude with something like “Here’s your task.” ChatGPT or Gemini work too.
- Claude will ask for a resource file. This is the step most people skip, and it’s why their videos look random. Open the link inside the master prompt, download the file (a full virality, consistency and production bible), upload it to the same chat and run it again.
Step 2: Niche, idea and script
Claude lists niches that perform well in stickman style right now: ancient humans, forbidden food, psychology, dark history and more. Pick one, then pick an idea from the researched list. (I chose “Why do you forget everything when you walk into a room?”)
Set the length. Real videos in this format run about 8–15 minutes. If you want the script lighter, ask: “Make it a bit more relatable, fun and casual.”
Step 3: A human-sounding voiceover
Free text-to-speech options: NaturalReader (about 5 min/day), NoteGPT, TTSMP3, and my favorite, ElevenLabs, whose free plan gives 10,000 credits a month (roughly 10 minutes).
- Remove the empty gaps between lines first, or you’ll get awkward pauses.
- Choose model v4 and click Enhance so the AI adds emotion, pauses and reactions.
Step 4: Consistent images
Tell Claude to proceed. It gives you image prompts matched to each part of the script and calculates how many you need. Free generators: Google Flow (daily free credits), Dreamina, and Pippit. If one runs out of credits, switch to another. Use 16:9 for long-form, and number your images in order when you download them.
Step 5: Animate only what matters
Claude gives you one animation prompt per image, each tagged with the part of the script it covers.
- In Flow, select an image → Animate → use the light model (fast, cheap, works on free accounts).
- If Flow’s quality disappoints, try Google Vids: Animate → upload image → paste prompt → 4 seconds at 720p.
- Shortcut: animate only your first 5–10 scenes. The opening decides whether people stay; the rest can be stills that you bring to life in the edit.
Step 6: Edit in CapCut
In CapCut:
- Add the voiceover. For this style, keep the small pauses, because they feel human.
- Place animated clips and match them to the script.
- Watermarks? Select all clips and scale up slightly until they’re gone.
- Add the still images, then add a start and end keyframe with a small zoom and an ease-in preset. Copy attributes to every image (stretch to fit).
- Fade in the first image, fade out the last, add quiet background music, and export.
📝 Your notes on this video
Saved on this device onlySome links in this post are affiliate links. They cost you nothing extra and help support the channel.
New to faceless YouTube?Start with my zero → monetized roadmapNiches, titles, hooks and the monetization rules, all in one place. →Keep watching


Get my master prompts free
Join the Saidox Faceless Vault: free prompts, checklists and workflows from every video, plus a community of faceless creators.
Join the free Vault →